Chattanooga, TN
Location
Monday - Saturday
7:00 AM - 7:00 PM
Menu
Location
7:00 AM - 7:00 PM
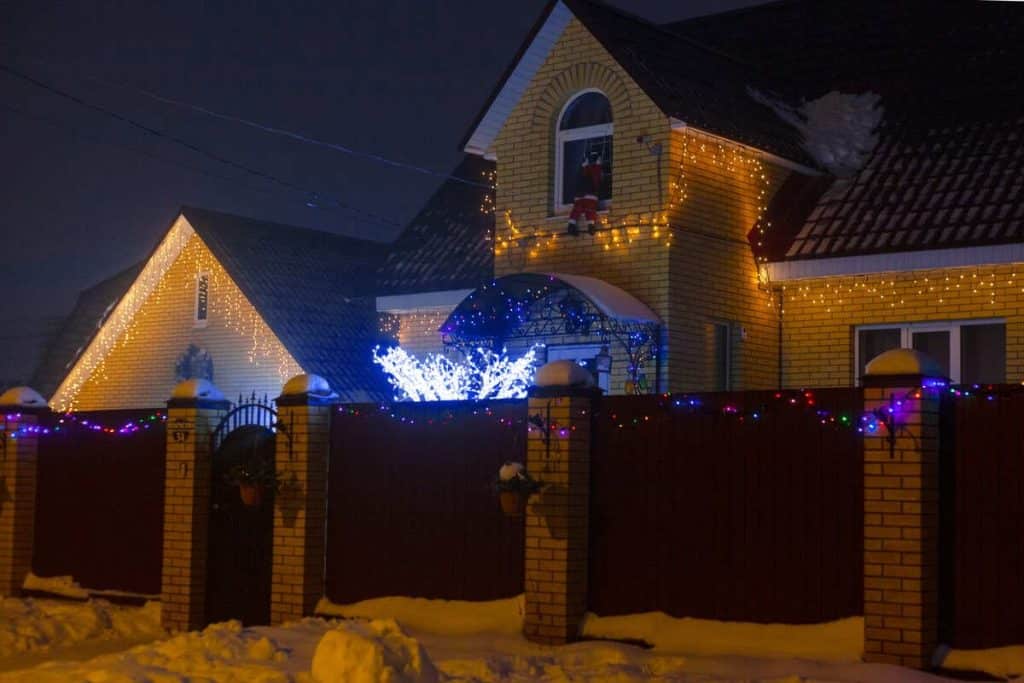
As the holiday season approaches, it’s time to think about decking the halls—and the roofs! Hanging Christmas lights on your roof can be a fun way to spread holiday cheer. However, it’s essential to do it safely & efficiently. In this guide, we’ll walk you through the process of hanging Christmas lights on your roof like a pro.
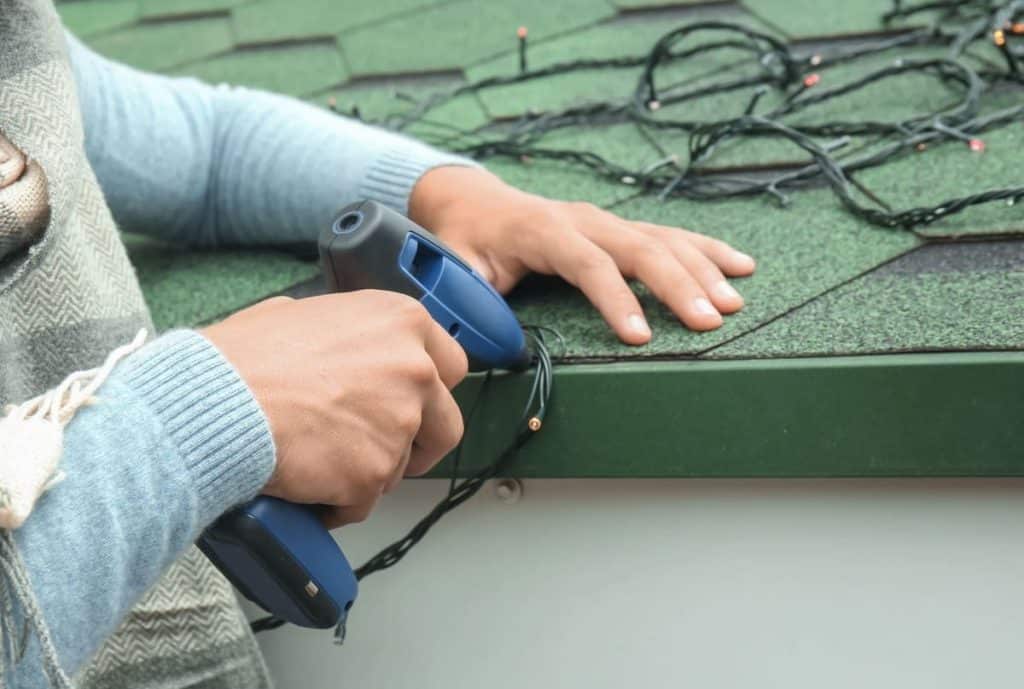
One of the most enchanting ways to spread cheer is by adorning your home with sparkling Christmas lights.
This enchanting tradition requires careful planning and much attention to safety. In this guide, we’ll walk you through everything you need to know to safely and beautifully hang Christmas lights on your roof, turning your home into a festive wonderland.
Before embarking on this festive journey, gathering all necessary materials is crucial. You’ll need the correct type of lights for your taste.
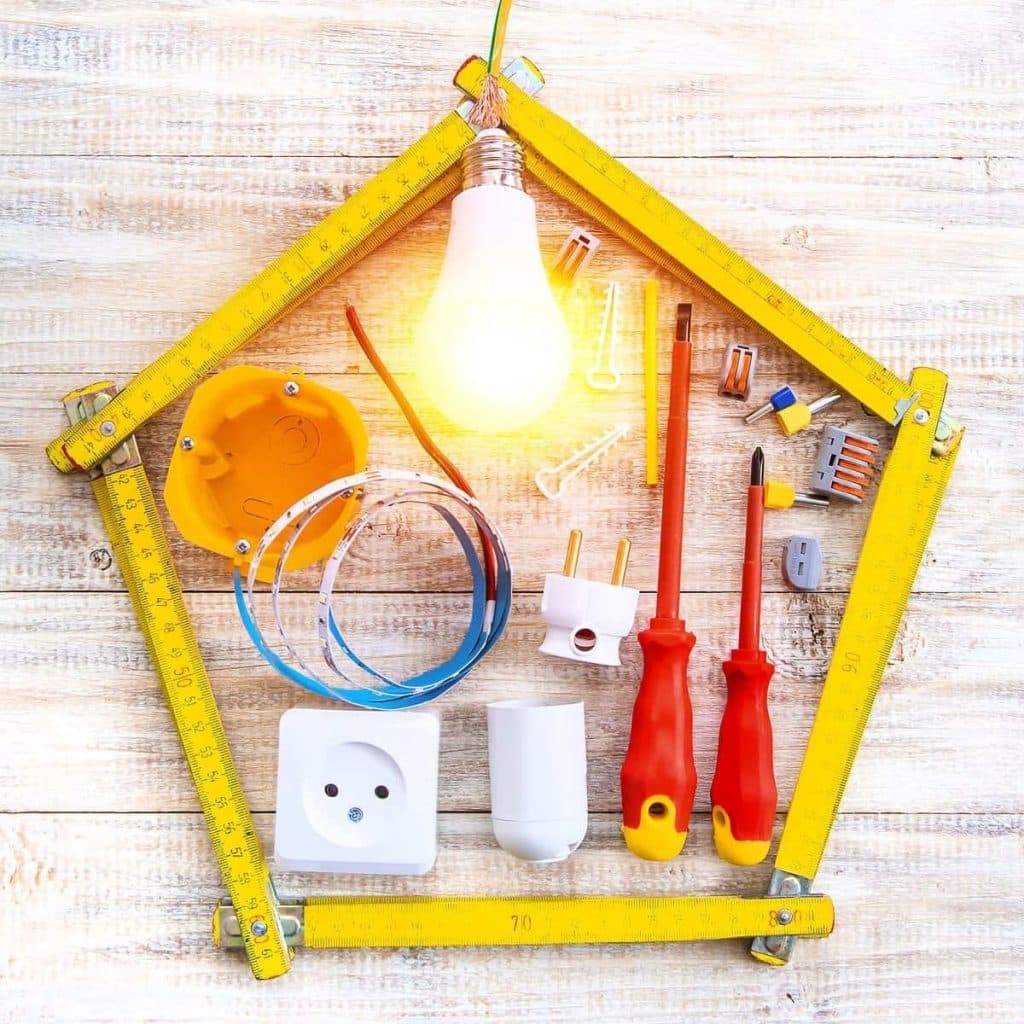
Planning your design is crucial – consider the architecture of your home, the color scheme of the lights, and the overall aesthetic you wish to achieve.
Safety should always be your top priority. Ensure your ladder is secure and stable, avoid working alone, and be mindful of weather conditions.
Use only outdoor-rated extension cords and lights to prevent any hazards when dealing with electricity.
Beyond the basic stringing of lights, elevate your lighting display with creative ideas.
Combining different types of lights
Using timers for automatic illumination
Syncing lights to music can add more magic to your display
Let’s delve into detailed design planning, installation tips, creative ideas to enhance your display, maintenance advice, and troubleshooting common issues.
Before you start, plan out your design. Consider the shape and lines of your roof and decide where you want your lights to go. Do you want to outline the roof edges, highlight specific features, or create a unique pattern? Sketching your plan can be helpful.
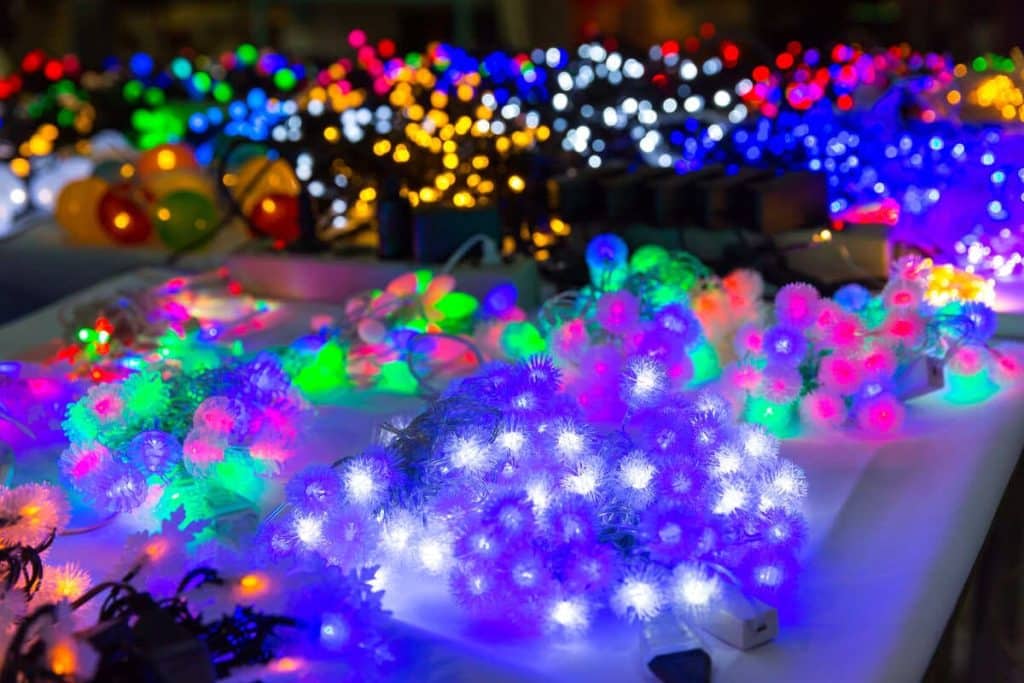
Various Christmas lights are available, from traditional incandescent bulbs to energy-efficient LEDs. Consider the length of lights you’ll need, bulb size, color, and whether they are suitable for outdoor use. Also, ensure you have enough extension cords and outdoor outlets.
Safety is paramount when working on a roof. Wear non-slip shoes, use a sturdy ladder, and have a spotter for extra safety. Avoid working in wet or windy conditions.
Depending on your installation method, you’ll need clips or hooks to secure your lights, a ladder, gloves, and a hammer or drill. Also, ensure your lights are untangled and in working order before you begin.
Begin at the closest point to your power source. Attach the light clips or hooks to your roof carefully, following your planned design. Make sure the lights are secure and evenly spaced.
Once all your lights are in place, gently plug them into the power source. For safety, it’s best to use outdoor-rated extension cords and a ground fault circuit interrupter (GFCI) outlet.
Step back and look at your lights from a distance. Make any necessary adjustments to the layout. Check all cords and lights to ensure they are securely in place and do not pose any safety hazards.
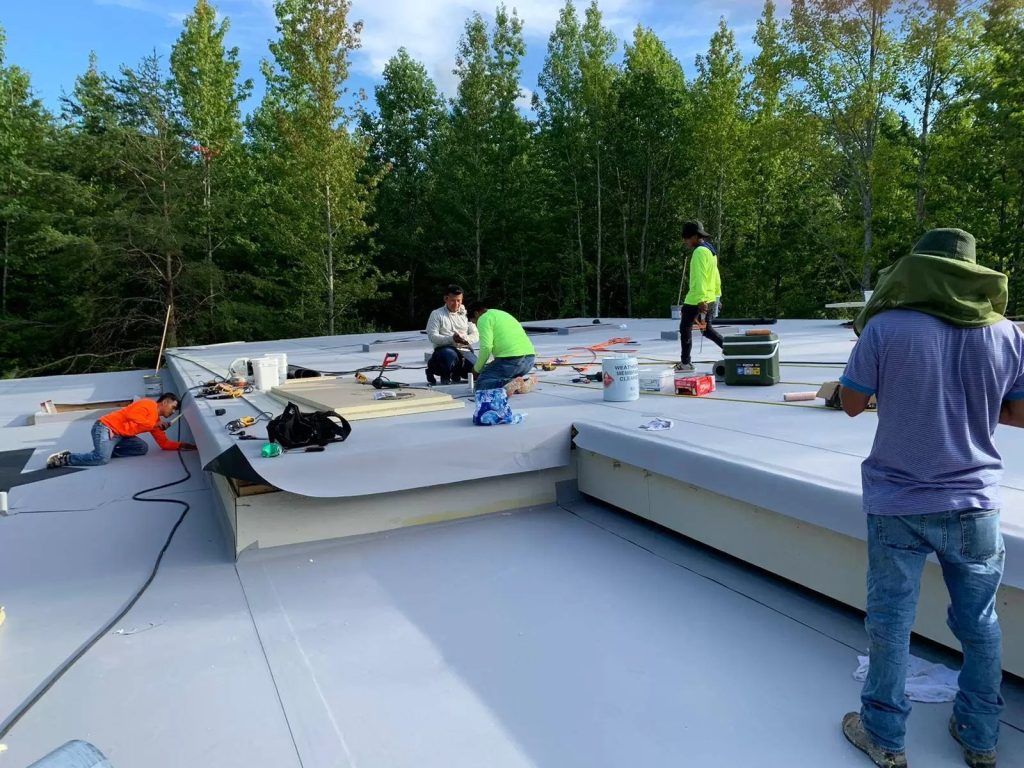
While the process might seem daunting initially, you can quickly turn your home into a festive neighborhood highlight with the right tools, safety measures, and creativity.
Concluding the guide, we’ll recap the key points covered, re-emphasize the importance of safety, and encourage readers to enjoy the beauty of their hard work.
Reminders about eco-friendly practices, like LED lights and solar-powered options, could also be included here. Call us for more info!
Remember, the process is part of the holiday fun, so take your time and enjoy creating your festive display. When done right, your home will be a beacon of holiday spirit in your neighborhood!